Store-bought vanilla extract falls into two categories: cheap imitation vanilla that tastes like chemicals, and expensive pure vanilla that's 80% water and markup. There's a third option that most home bakers never consider — making it yourself.
Homemade vanilla extract is straightforward, produces a genuinely superior product, and costs less per ounce than premium store bottles once your first batch is done. Here's everything you need to know.
Why Make Your Own Vanilla Extract?
Quality. Commercial vanilla extract is often diluted to the minimum 35% alcohol content required for USDA labeling as "pure" vanilla. Homemade extract can be made stronger, with a deeper, more complex flavor because you control the ratio.
Customization. Different vanilla beans produce different flavor profiles. You can blend Madagascar and Tahitian beans for a more nuanced extract, or single-origin for a cleaner flavor. No commercial brand gives you that choice.
Cost over time. A 4 oz bottle of pure vanilla extract costs $8–15 at the grocery store. Homemade costs roughly $0.50–1.50 per ounce when made in volume — and you can refill your jar indefinitely by topping off with alcohol and adding fresh beans.
It's satisfying. You made it. It works better than what you bought. That's a good feeling.
What You Need
Vanilla Beans
You need Grade A or Grade B beans. Grade A (also called "Prime" or "Gourmet") are moister with a higher oil content — better for dishes where the visual is important, like vanilla bean ice cream. Grade B (also called "Extract Grade") are drier with a more concentrated flavor and lower moisture — ideal for making extract. Grade B beans are also significantly cheaper.
→ Shop Grade B vanilla beans for extract on Amazon
For a 8 oz jar of extract, plan on 5–7 beans per cup of alcohol (1 cup = 8 oz). More beans = stronger extract. You can go up to 10 beans per cup for a very robust extract.
Origin matters:
- Madagascar Bourbon — classic vanilla flavor, sweet, creamy, most widely used
- Tahitian — floral, fruity, cherry-like notes; excellent for pastry creams and custards
- Mexican — slightly spicier, bold, works well in chocolate applications
For your first batch, start with Madagascar. It's the flavor you know and it's the most forgiving.
Alcohol
The rules: minimum 35% alcohol (70 proof). This is the legal and functional minimum for vanilla extract. Higher proof = faster extraction and a more stable finished product.
Options:
- Vodka — the standard choice. Neutral flavor lets the vanilla shine. Use 80 proof (40%) for classic extract.
- Bourbon — adds a warm, caramel undertone that works beautifully in baked goods. Use for a "bourbon vanilla" extract.
- Rum — dark rum especially adds complexity; works well for tropical desserts and anything with coconut.
- Brandy — smooth and slightly sweet; excellent for custards and French-inspired baking.
→ Shop vodka for vanilla extract on Amazon
For your first batch, 80 proof vodka is the right choice. It's cheap, neutral, and produces textbook extract.
Equipment
- Glass jar with a tight-fitting lid (mason jar or swing-top glass bottle)
- Sharp knife
- Dark storage location (a cabinet or pantry)
That's it. No special equipment required.
→ Shop glass bottles for vanilla extract on Amazon
Step-by-Step Instructions
Step 1: Prepare Your Beans
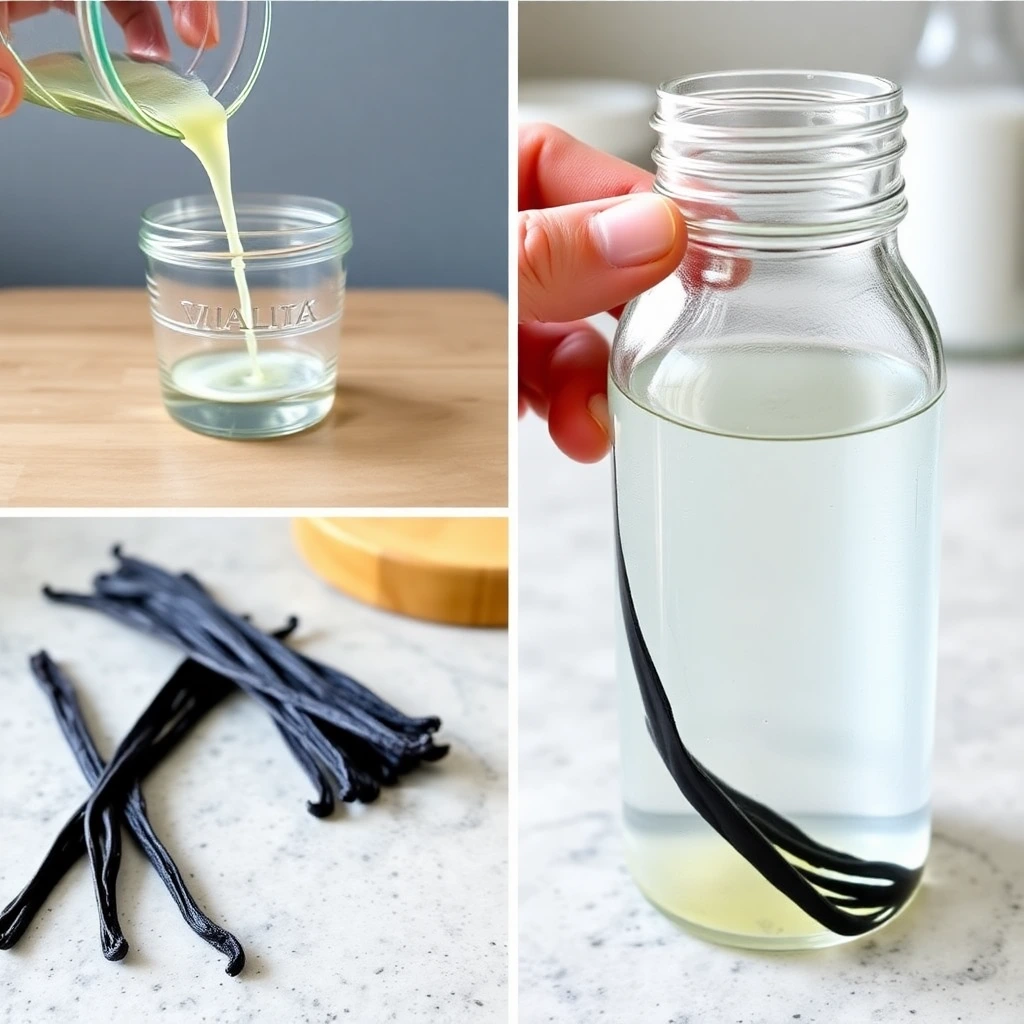
Split each vanilla bean lengthwise with a sharp knife, stopping about 1/2 inch from each end (leave the pod connected at both ends). This opens the pod and exposes the interior seeds to the alcohol.
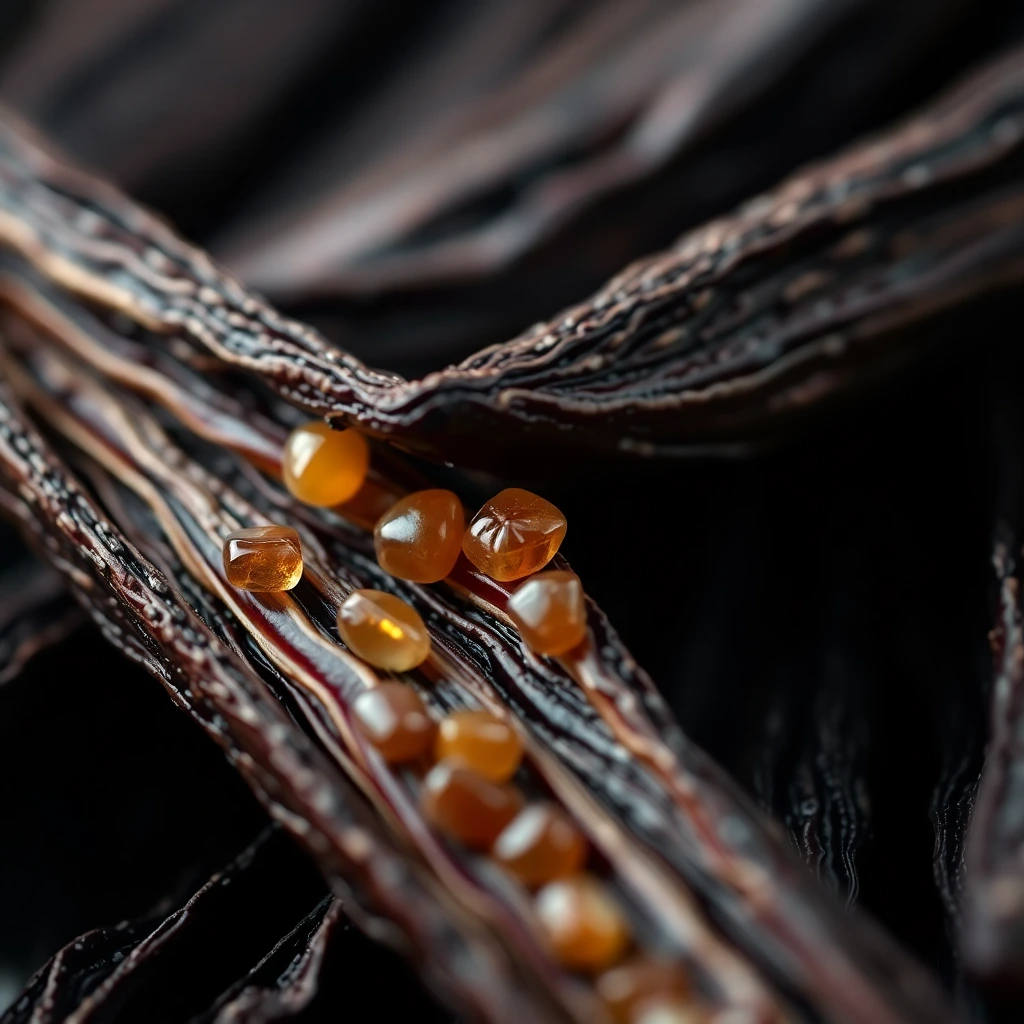
You don't need to scrape out the seeds — leave them in the pod. They'll release into the extract over time, giving you flecks of real vanilla in the finished product.
Step 2: Add Beans to Jar
Place the split beans into your glass jar. For an 8 oz jar (1 cup), add 5–7 beans. They'll bend and curve to fit — that's fine.
Step 3: Add Alcohol
Pour your alcohol over the beans until fully submerged. Make sure there's no bean exposed above the liquid line (exposed sections dry out and don't extract efficiently).
Step 4: Seal and Store
Seal the jar tightly. Store in a cool, dark location — a kitchen cabinet away from heat works perfectly. Avoid under-sink storage (temperature fluctuates too much) and don't refrigerate.
Step 5: Wait and Occasionally Shake
Shake the jar gently every week or so to agitate the beans. The extract will be light tan at first and darken to a rich amber-brown over time.
Minimum extraction time: 8 weeks. Most vanilla experts recommend 3–6 months for full flavor development. The longer you wait, the better it gets.
You'll know it's ready when it smells deeply and unmistakably like vanilla — not boozy, not beany, just vanilla.
Timeline Expectations
| Timeframe | What You'll See | |---|---| | Week 1–2 | Light amber color, faint vanilla scent | | Week 4 | Medium amber, recognizable vanilla smell with some alcohol edge | | Week 8 | Dark amber, pure vanilla smell, extract is usable | | Month 3–4 | Rich dark brown, full complex vanilla flavor, alcohol edge nearly gone | | Month 6+ | Peak flavor; ready to bottle or use as-is |
Using and Refilling Your Extract
Homemade vanilla extract is a 1:1 replacement for store-bought in any recipe. Start with whatever quantity your recipe calls for.
The perpetual jar method: When your jar gets about halfway down, top it off with fresh alcohol. Add 1–2 new beans every few months to maintain potency. A jar of vanilla extract, maintained this way, can last indefinitely.
Straining: Optional. If you want clear extract without vanilla seed flecks, strain through a coffee filter before bottling. If you don't mind the specks (which are just real vanilla), skip it.
Gifting: Homemade vanilla extract in small glass bottles with a handwritten label is one of the best food gifts you can give. It's genuinely luxurious, personal, and costs you less than $3 per 4 oz bottle to make in volume.
→ Shop small glass extract bottles for gifting on Amazon
Common Mistakes to Avoid
Using imitation vanilla beans. The quality of your beans determines the quality of your extract. Buy from reputable specialty suppliers — look for beans that are moist, pliable, and deeply fragrant. Dry, brittle beans are old.
Not using enough beans. Five beans per cup is the minimum. Skimping leads to weak extract that takes longer to develop and never reaches full flavor.
Using too-low proof alcohol. Under 35% alcohol, your extract won't extract properly and has a higher risk of spoiling. 80 proof (40%) is the sweet spot.
Opening it too soon. 8 weeks is the absolute minimum. Trying it at 3 weeks and deciding it's "not working" is one of the most common reasons people don't continue. Be patient.
Storing in clear glass in a bright location. Light degrades vanilla compounds. Dark glass or a dark storage location is essential.
Scaling Up
Once you've made one batch and seen how simple it is, it's worth making a large batch. A quart of extract (32 oz) with 20–25 beans and a quality bottle of vodka runs about $25–35 total and produces enough extract to last a baking household 2+ years.
For more from the homebrew vanilla kitchen, see our guides on Madagascar vs Tahitian vanilla beans and vanilla bean paste vs extract — when to use each.
Frequently Asked Questions
How long does homemade vanilla extract take?
The minimum extraction time is 8 weeks, but 3–6 months produces noticeably better flavor. At 8 weeks, the extract is usable and recognizably vanilla; by month 4–6, the alcohol edge has mellowed and the flavor reaches its full complexity. Patience genuinely pays off with vanilla extract.
What alcohol is best for homemade vanilla extract?
80-proof (40%) vodka is the standard choice — its neutral flavor lets the vanilla shine without adding competing notes. Bourbon adds warm, caramel undertones that work beautifully in baked goods. Dark rum adds complexity for tropical-inspired baking. Any option must be at least 70 proof (35% alcohol) to properly extract and preserve the vanilla.
How many vanilla beans do I need per cup of vodka?
Use 5–7 Grade B vanilla beans per 8 oz (1 cup) of alcohol. Five beans meets the FDA minimum for labeling as "pure vanilla extract"; 7–10 beans produces a richer, more robust result. Grade B (extract-grade) beans are specifically recommended — they're drier, more concentrated in flavor, and cheaper than Grade A beans.
Can I reuse vanilla beans after making extract?
Yes — the perpetual jar method is one of the best parts of homemade extract. When your jar gets halfway down, top it off with fresh alcohol and add 1–2 new beans every few months to maintain potency. A well-maintained jar of vanilla extract can last indefinitely, continuously producing excellent extract.
Is homemade vanilla extract cheaper than store-bought?
Yes, significantly so after the first batch. Store-bought pure vanilla extract costs $8–15 for 4 oz. Homemade costs roughly $0.50–1.50 per ounce when made in volume — especially if you use Grade B beans and buy in bulk. The savings become more dramatic as you scale up and refill using the perpetual jar method.
As an Amazon Associate we earn from qualifying purchases. This article contains affiliate links; if you buy through them we may earn a small commission at no additional cost to you.